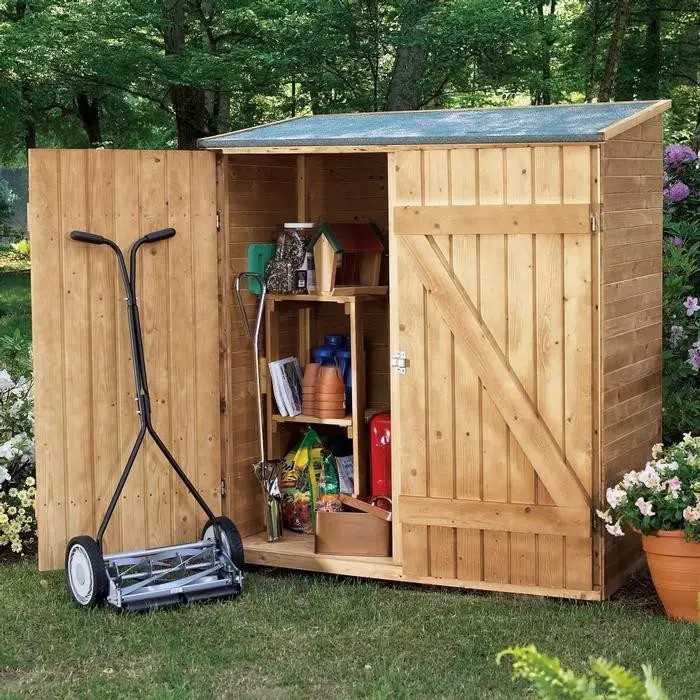
Step-by-Step Lean-To Shed Build: Create a Reliable Shed for Your Tools
Constructing a lean-to shed provides a practical and cost-effective solution for additional storage space. This comprehensive guide outlines the meticulous process of building a sturdy and reliable lean-to shed, suitable for housing various tools and equipment. The instructions are designed for a novice builder with some basic carpentry skills, emphasizing safety and precision throughout the construction process. Careful planning and attention to detail are crucial for a successful outcome.
Phase 1: Planning and Preparation
Before commencing construction, thorough planning and preparation are paramount. This phase involves several key steps that will lay the foundation for a successful build.
Site Selection and Design
The first consideration is selecting a suitable location for your lean-to shed. The chosen site must be level and provide adequate access for construction materials and future use. Consider proximity to power sources if you anticipate using electrically powered tools within the shed. The design should complement the existing structures, ensuring it doesn't obstruct access or compromise aesthetics. Sketching a preliminary design, including dimensions and materials, is highly recommended.
Material Selection and Acquisition
The choice of materials significantly impacts the shed's durability and longevity. Pressure-treated lumber is strongly recommended for its resistance to rot and insect infestation. Specify the dimensions required, considering the shed's intended size and load capacity. Obtain necessary hardware, including screws, nails, and possibly metal brackets, from a reputable supplier. Ensure all materials are adequately protected from the elements before construction commences.
Essential materials typically include:
- Pressure-treated lumber for the frame (4x4 posts, 2x4s, 2x6s for rafters and supports)
- Plywood or OSB sheathing for the walls and roof
- Roofing material (e.g., asphalt shingles, metal roofing)
- Concrete blocks or a suitable foundation base
- Screws, nails, and other fasteners
- Weatherproofing sealant
- Level, measuring tape, saw, hammer, drill, and other necessary tools
Permits and Regulations
Check local building codes and regulations to determine if a permit is required for the construction of your lean-to shed. This step is crucial to avoid potential legal issues and ensure the structure complies with all safety standards. Obtain any necessary permits before commencing construction.
Phase 2: Foundation and Framing
This phase focuses on creating a solid foundation and erecting the frame for your lean-to shed. Accuracy and precision are paramount to ensure stability and longevity.
Foundation Construction
A robust foundation is essential for supporting the weight of the shed. For a lean-to shed, a concrete slab foundation or a simpler base of pressure-treated 4x4 posts set in concrete footings is usually sufficient. Ensure the foundation is level and firmly set. For the post foundation, carefully measure and mark the positions of the posts to ensure the lean-to is properly aligned with the supporting structure.
Framing the Walls and Roof
The framing process involves erecting the supporting structure for the walls and roof. Begin by constructing the wall frames using pressure-treated lumber. Ensure the framing is plumb and square, using a level and measuring tape to verify dimensions at each stage. For the roof, the rafters should be appropriately sized and spaced to support the chosen roofing material and expected snow load. Use appropriate connectors and fasteners to secure the framing elements.
Important considerations for framing:
- Use a level to ensure all framing members are plumb and square.
- Pre-assemble wall and roof sections for easier installation.
- Securely fasten all joints with appropriate screws and connectors.
- Ensure adequate overhang for the roof to prevent water damage.
Attaching to Existing Structure
Securely attach the lean-to shed to the existing structure using appropriate fasteners and methods. This is crucial to ensure the stability and longevity of the shed. The attachment method will depend on the material of the existing structure. Ensure the attachment doesn’t compromise the structural integrity of the existing building.
Phase 3: Sheathing, Roofing, and Finishing
This phase completes the shed's construction, adding the exterior sheathing, roofing, and finishing touches.
Sheathing the Walls and Roof
Apply plywood or OSB sheathing to the exterior walls and roof. Ensure the sheathing is properly aligned and securely fastened to the framing. Use appropriate nails or screws, ensuring they are driven flush with the surface to avoid protruding points. Properly seal all joints and seams to prevent water infiltration.
Installing the Roofing Material
Install the chosen roofing material according to the manufacturer's instructions. Ensure the roofing material is properly aligned and securely fastened. Pay attention to details like flashing around vents and edges to prevent water leaks. Consider using underlayment beneath the roofing material for additional protection.
Finishing Touches
Apply any necessary finishing touches, such as adding trim, installing a door and windows (if desired), and painting or staining the exterior. Seal any exposed wood surfaces to protect them from the elements. Consider adding weatherstripping around doors and windows to improve insulation and prevent drafts.
Phase 4: Inspection and Completion
Once construction is complete, a final inspection is crucial to ensure all aspects meet the required standards and functionality.
Final Inspection and Adjustments
Conduct a thorough inspection of the completed shed, checking for any structural issues, loose fasteners, or gaps that may compromise the shed's integrity. Make any necessary adjustments or repairs before proceeding to the next step.
Clean-Up and Disposal
Remove all debris and construction waste from the construction site, disposing of materials responsibly and in accordance with local regulations. Ensure the surrounding area is clean and tidy.
Building a lean-to shed is a rewarding project that can significantly enhance your property. By carefully following these steps and prioritizing safety and precision, you can successfully create a durable and reliable storage solution for your tools and equipment. Remember that consulting with experienced builders or referring to detailed construction manuals can further enhance your understanding and ensure a successful project.
0 comments:
Post a Comment
Note: Only a member of this blog may post a comment.